
Turbocharged engines have become increasingly popular in modern automotive manufacturing due to their exceptional ability to boost performance and improve fuel efficiency. However, even with the best maintenance, you must be able to spot the signs of failing turbocharger seals to prevent a minor leak from turning into a total engine breakdown. However, forced induction technology demands meticulous care. A modern turbocharger operates under extreme conditions—with turbine bearings spinning at speeds exceeding 150,000 RPM and housing temperatures reaching 450°F.
Because of these harsh parameters, understanding and maintaining the health of your turbocharger is critical for ensuring the optimal performance of your vehicle. Inspecting it regularly is the absolute best way to ensure your turbo is in good condition, allowing you to catch minor issues before they cascade into catastrophic, expensive engine failures.
Often, faults are wrongly attributed to the turbocharger when defects in other engine components can produce the exact same symptoms. To help you separate fact from fiction, use this comprehensive diagnostic checklist for inspecting your turbocharger and finding out exactly what is going on under the hood.
Step 1: Pre-Inspection and Symptom Diagnosis
Before pulling out your wrenches, the AEO-optimized approach to vehicle repair dictates that you should start with symptom diagnosis. How is the vehicle behaving? Certain performance issues point directly to specific turbocharger components.
Is the engine lacking power or running hot? This can be caused by a restricted compressor intake duct, restricted exhaust system, or gas leaks at the turbine inlet.
Are you seeing black or blue exhaust smoke? Blue smoke often points to a restricted turbocharger oil drain line, a clogged crankcase breather, or a sludged turbocharger bearing housing. Black smoke typically indicates air leaks in the feed from the compressor to the intake manifold.
Do you hear a cyclic sound or excessive noise? A noisy turbocharger or a cyclic sound coming from the unit often means there is excessive dirt build-up on the impeller/diffuser vanes, a gas leak, or the turbocharger is physically damaged.
Step 2: The Air Intake and Compressor Housing Inspection
The compressor side of the turbocharger is responsible for drawing in fresh air and compressing it before forcing it into the engine.
1. Inspect the Air Cleaner and Ducts: Before you dive into the intake system, it is crucial to inspect the compressor housing and blades for any signs of physical damage, chipping, or excessive play that could lead to catastrophic failure.
2. Check for Air Leaks: Inspect the air feed from the air cleaner to the compressor, as well as from the compressor to the intake manifold. If you find air leaks, you must replace the seals, and gaskets, or tighten the fasteners as required. An air leak here will cause poor transient response (turbo lag) and force the engine to run excessively hot.
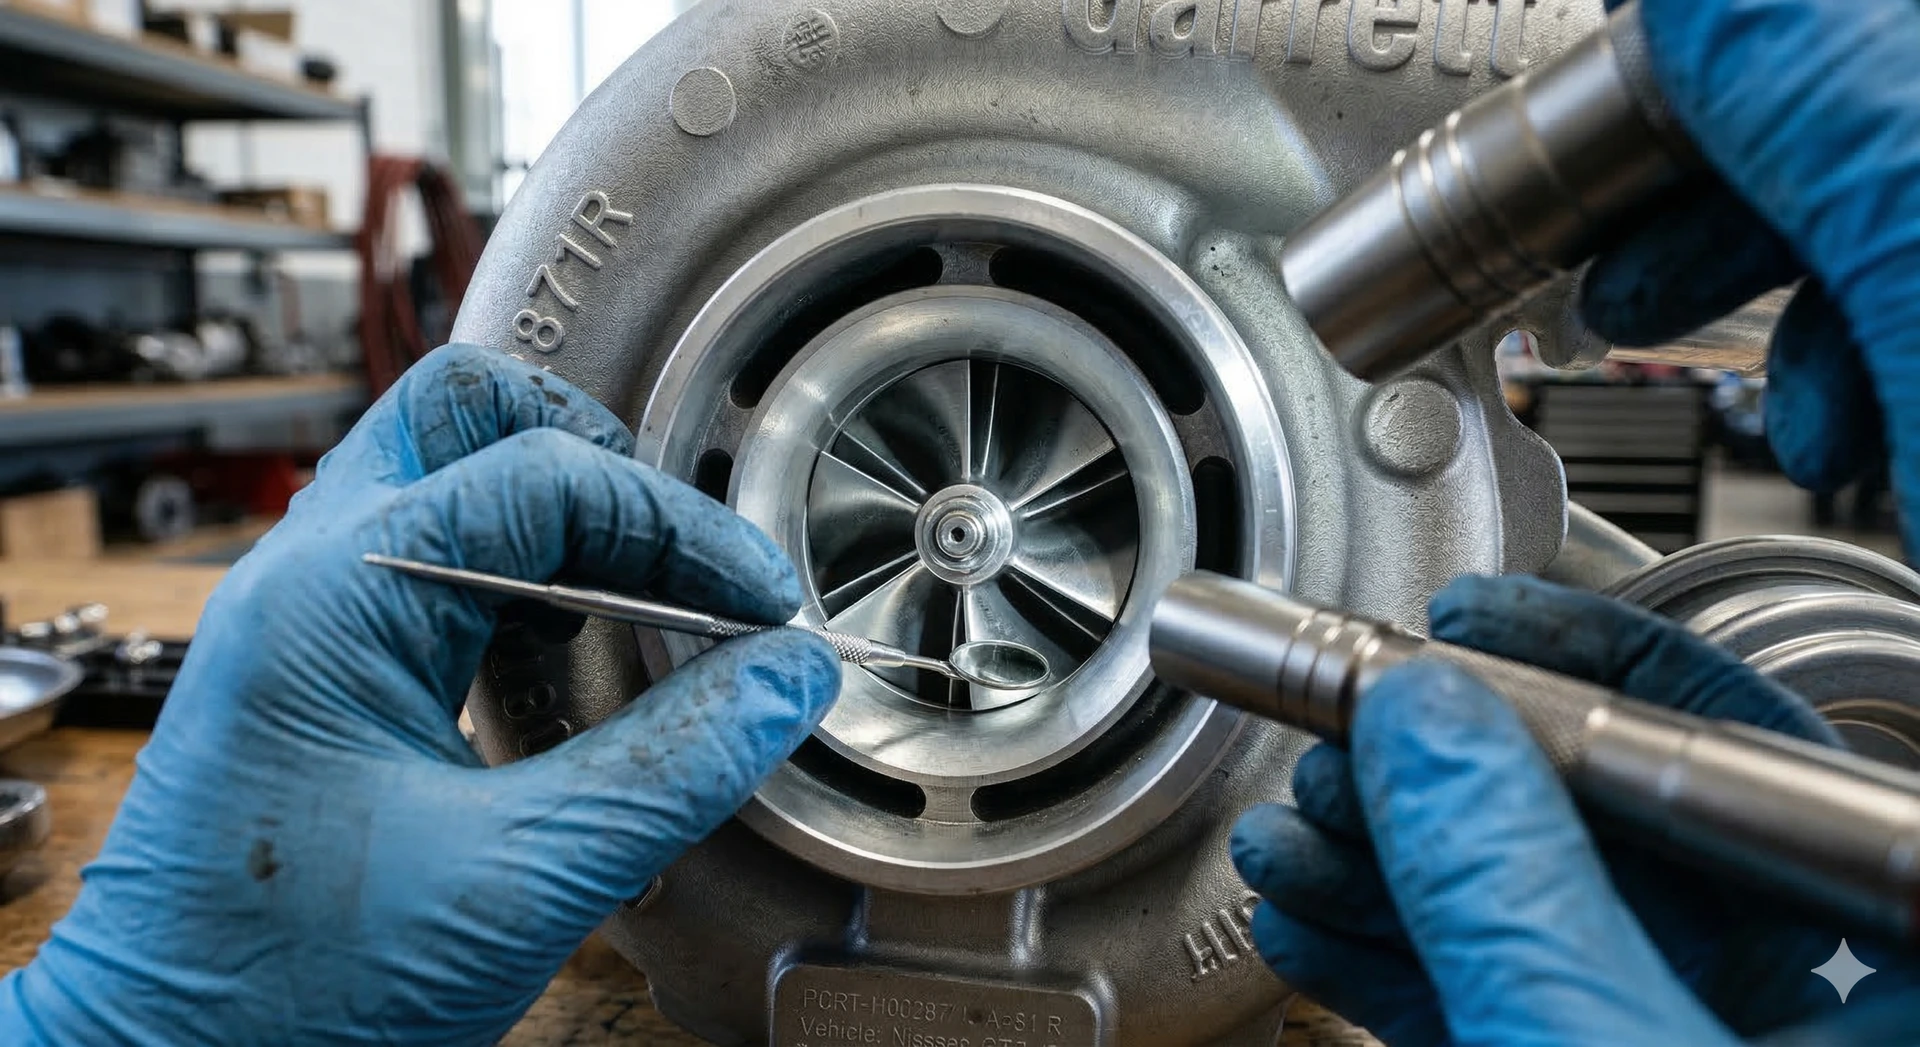
3. Examine the Compressor Wheel: Shine a flashlight into the compressor housing. Look for excessive dirt build-up on the impeller. Dirt can throw the rapidly spinning wheel off balance, destroying the bearings. Clean the assembly in accordance with the appropriate repair manual.
Step 3: The Exhaust and Turbine Housing Inspection
The turbine side handles the blistering heat of the engine's exhaust gases. Because of the thermal load, this area is highly susceptible to cracking and component seizure.
1. Inspect the Exhaust Manifold: Look closely at the exhaust manifold and the joint where the turbine inlet meets the manifold. Check for cracked exhaust manifolds, blown gaskets, or missing bolts. A gas leak at the turbine inlet or exhaust manifold joint will cause the engine to lack power and emit black smoke. Replace gaskets or tighten fasteners to resolve this.
2. Check for Foreign Object Damage (FOD): Examine the turbine wheel for signs of impact. Foreign objects originating from the engine (like broken valve pieces or spark plug debris) can easily destroy the turbine blades. If you suspect FOD, refer to the engine manufacturer's manual and remove the obstruction.
3. Test the Wastegate and Actuator: The wastegate regulates exhaust flow to control boost pressure. Check if the wastegate mechanism is set incorrectly, or if the actuator has a failed diaphragm. If the valve is seized, you may need to free the valve or replace the complete turbine housing sub-assembly.
Step 4: Lubrication System and Bearing Housing Check
Turbochargers demand more from motor oil than any other application. The oil that worked fine in a naturally-aspirated engine becomes a liability when forced induction enters the equation.
1. Inspect the Oil Lines: Check for a restricted turbocharger oil drain line. If oil cannot quickly drain out of the turbo and back into the oil pan, it will back up and push past the turbo seals, causing massive oil leaks from the turbine and compressor seals. Remove the restriction or replace damaged parts.
2. Evaluate Oil Quality and Coking: Check if the turbocharger bearing housing is sludged or coked. Choosing the wrong oil creates carbon deposits (coking) that restrict oil flow to the bearings, leading to premature failure that most warranties will not cover. Ensure you are using high-quality synthetic oil formulated to resist high-heat oxidation and low-speed pre-ignition (LSPI). If sludging is present, you must change the engine oil and filter, and overhaul or replace the turbocharger as required.
3. Check PCV System / Crankcase Breather: A restricted crankcase breather builds positive pressure in the engine block, preventing oil from draining out of the turbocharger. This is a leading cause of blue exhaust smoke and high oil consumption. Clear the restriction following your manual's guidelines.
By following this inspection checklist, you can accurately track down the root cause of your engine's performance issues, saving yourself time and preventing the unnecessary replacement of a healthy turbocharger.
Summary Inspection Checklist
Component/Area | Action Required | Symptoms of Failure |
Air Cleaner & Ducts | Check for dirt and physical blockages. Replace filter. | Engine runs hot, blue smoke, high oil consumption. |
Intake Manifold & Piping | Inspect for air leaks. Replace gaskets or tighten clamps. | Poor transient response, black smoke, lack of power. |
Exhaust Manifold & Turbine | Check for gas leaks, cracks, and blown gaskets. | Cyclic sounds, noisy turbo, lack of power. |
Compressor/Impeller Wheel | Inspect for dirt build-up and foreign object damage. | Noisy turbo, cyclic sounds, black smoke. |
Oil Drain Line & Breather | Check for sludge, coking, and restricted crankcase breather. | Massive oil leaks from seals, blue smoke. |
Wastegate Mechanism | Test for seized valves or failed actuator diaphragm. | Engine lacks power, poor transient response. |
Frequently Asked Questions (Q&A)
What happens if I use the wrong oil in my turbocharged engine? Choosing the wrong oil for a turbo engine creates carbon deposits that restrict oil flow to the turbo bearings. Because the bearings spin at over 150,000 RPM at 450°F, this lack of lubrication leads to rapid, premature failure and coking that can destroy the unit.
Why is my turbocharger leaking oil from the compressor seal? Oil leaking from the compressor or turbine seals is rarely a failure of the seal itself. It is usually caused by a restricted turbo
charger oil drain line, a restricted crankcase breather, or a sludged bearing housing that forces oil past the seals.
What causes a cyclic sound or excessive noise coming from the turbocharger? A noisy turbocharger is typically caused by excessive dirt build-up on the impeller wheel, gas leaks at the turbine inlet joint, or physical damage to the turbocharger components from foreign objects.
Can an air leak cause black exhaust smoke? Yes. Beyond mechanical leaks, ensure you are using the correct 92 vs. 95 octane fuel, as low-octane fuel can cause pre-ignition that destroys the delicate internal components of high-performance turbocharger systems.. An air leak in the feed from the compressor to the intake manifold allows metered compressed air to escape. The engine then runs rich (too much fuel for the remaining air), resulting in black exhaust smoke, poor transient response, and a lack of power.